
In the previous post, we’ve successfully launched KGDB on BeagleBoard. Now we need to execute GDB with BeagleBoard’s symbol table and and remote connect to KGDB on BeagleBoard. 1. Go to the folder we built arm-angstrom-linux-gnueabi-gdb and type:
./arm-angstrom-linux-gnueabi-gdb [path to vmlinux file] GDB will launch and you should see:
silentlain 發表在 痞客邦 留言(1) 人氣(98)
Now all the files are ready. We need to boot BeagleBoard to KGDB. How? Here’s the flow chart for KGDB:

Since we want to launch KGDB as early as possible, KGDB is executed before the boot process is even completed. Therefore we need to modify the bootargs for Angstrom. We can do this in U-boot. For xM model, another way is to modify the uEnv.txt file. Append the following parameters to optargs: kgdboc=ttyO2,115200n8 kgdbwait
silentlain 發表在 痞客邦 留言(0) 人氣(91)
In this post I will address GDB on the PC side.
GDB comes preinstalled with most Linux distributions. You can definitely find one in your PC. However, these GDBs are not what we need here. We need a GDB that runs on PC (x86, x86-64) but can debug ARM architecture. Therefore we need to build it. Fortunately, OpenEmbedded already has pre-written recipes for it. All we need to do is type the following commands:
source ~/.oe/environment-angstromv2012.05
bitbake gdb-cross
silentlain 發表在 痞客邦 留言(0) 人氣(32)

In this post I will show how to enable KGDB in Angstrom.
In order to enable KGDB, we need to modify kernel configurations and rebuild the kernel. For desktop Linux distributions, we can do this by make menuconfig. In Angstrom, it’s similar. We only need to replace the make command by bitbake command and setup its environment. Here are the steps:
1. source ~/.oe/environment-angstromv2012.05
2. bitbake virtual/kernel -c menuconfig
After this you should see an interactive menu popped up in a new terminal. Here you can modify all kinds of kernel setting. For KGDB, please select Kernel Features
silentlain 發表在 痞客邦 留言(0) 人氣(315)
Generally speaking there are two ways to do kernel debugging in Angstrom:
1. Using KGDB as a remote GDB agent.
2. Using a hardware JTAG to control the processor.
I will focus on KGDB. Here’s how KGDB debugging works:
KGDB debugging will require a BeagleBoard as client and a PC as host. On BeagleBoard it will run KGDB; on PC it will run GDB. GDB on PC will debug BeagleBoard using KGDB through COM port.
silentlain 發表在 痞客邦 留言(0) 人氣(41)
In the previous post, we successfully built a Angstrom kernel and kept all the source code. In this post we’ll learn how to modify the source code and rebuild it. First we need to locate the source code. Since we’ve commented out INHERIT += "rm_work" in conf/local.conf, it should be kept somewhere on our hard disk. It is located at setup-scripts/build/tmp-angstrom_v2012_05-eglibc/work/beagleboard-angstrom-linux-gnueabi/linux-mainline-3.2.28-r122a/git/ . If you open this folder, you will see the complete kernel source tree here. Let’s try a simple example: 1. Go to source tree folder and use text editor to open /kernel/fork.c.
silentlain 發表在 痞客邦 留言(0) 人氣(57)
So now we know how to build and run the distribution we made ourselves. But how do we modify it? How do we modify the source code and rebuild it? This serious of posts will guide you through it. This method of kernel modification is based on bitbake scripts from github that described in previous posts. If you haven’t done it, please finish it first. 1. Install necessary packages. Since we’ve already installed a bunch of packages, right now we only need git-core. Simply type “sudo apt-get install git-core” will do the job.
silentlain 發表在 痞客邦 留言(0) 人氣(109)
If you followed the last post and booted the BeagleBoard successfully, congratulations! This post is irrelevant to you. However, if you followed all the instructions and still failed, this is the post you’re looking for. Scenario 1:
Build parameter: systemd-gnome-image
Symptom:
Halt at random point after kernel is loaded.
Solution:
Haven’t found yet.
silentlain 發表在 痞客邦 留言(0) 人氣(53)
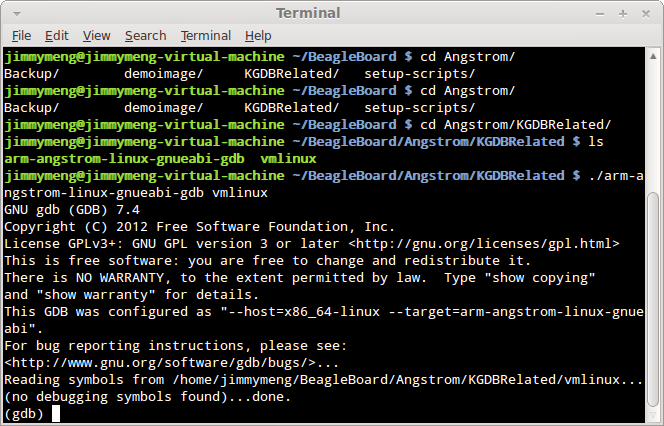
After finishing previous post on “How to build your own Angstrom distribution”, now we should have everything ready. We just need to put files to micro SD card and it should boot.
1. Download this file and format microSD using it. The microSD card must be at least 4 GB. This process will PERMANENTLY delete the contents! Please backup your micro SD card first.
1.a: In terminal, type "sudo fdisk -l" to know which sdX is microSD card mounted.
1.b: Unmount the microSD by typing "umount /dev/sdX". If there are multiple partitions, you may need to umount sdX1, sdX2... manually and lastly umount sdX.
1.b: Type "sudo sh mkcard.txt /dev/sdX", where sdX is your microSD card. Check this post if you want to know more about script.
silentlain 發表在 痞客邦 留言(0) 人氣(106)
There are several ways to run a shell script in Linux: directly execute it (./scriptname, assuming it is executable), invoke the script with sh command or with source (dot) command. What’s the difference?
Let’s try the following example:
Open a shell and type
x=10 (Note that there’s no space between each character)
echo $x
This will create a variable x and set its value to 10. Then print out current value of x in current shell.
silentlain 發表在 痞客邦 留言(0) 人氣(75)